Garage sales are easy with map marker features

There are some ZeeMaps features that are particularly useful for people organising garage sales, yard sales or even estate sales. One such feature allows you to copy or move a marker from your map to others that you own. And if you are a paid user, you can also add a marker to all your maps at once.
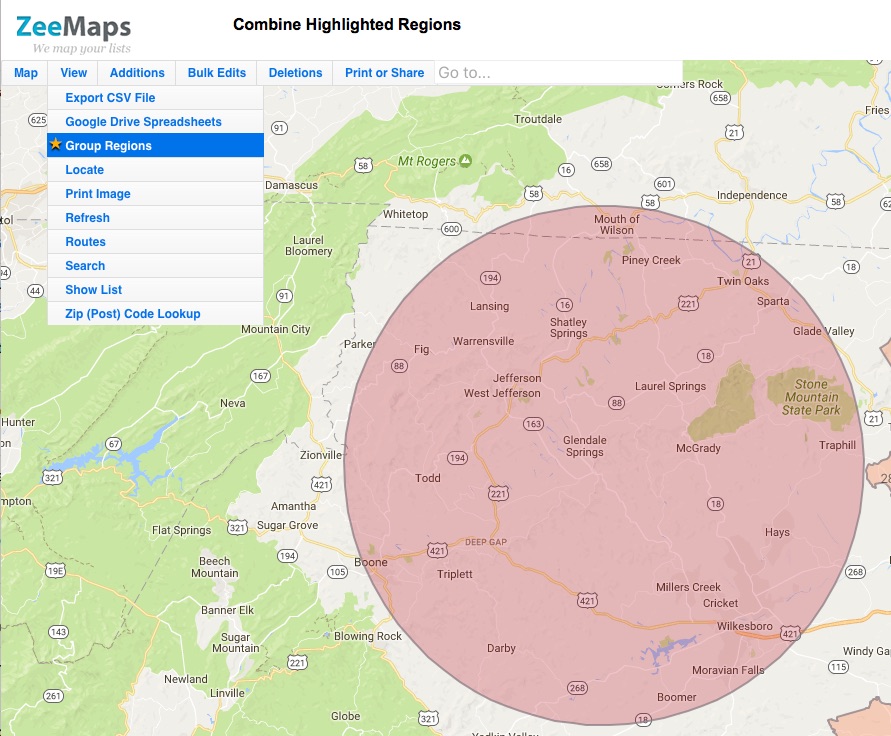
To access the copy/move feature, click on a marker on one of your maps. An information box with details of your marker will appear and you’ll see five icons in the bottom right corner. If you hover over the third icon which looks like two pages, it says ‘Copy/Move’.
Copy/move a marker to plan garage sales
When you click on this icon, you’ll be taken to a ‘Select a Map’ window. Choose the one or more you want from the dropdown list of all your maps and select ‘Copy’ or ‘Move’. Your marker will be copied or moved to the map or maps you requested.
To add a marker to all your maps at once, you must be a paid user. To enable this feature, go to your sign-in information on the top right of the page. Select ‘Account’ from the dropdown and then the ‘Settings’ tab. Tick the box that says ‘Enable marker additions to all maps at once.’ Click on the Save button at the top of the page to save these settings.
Enable marker additions to plan a garage sale
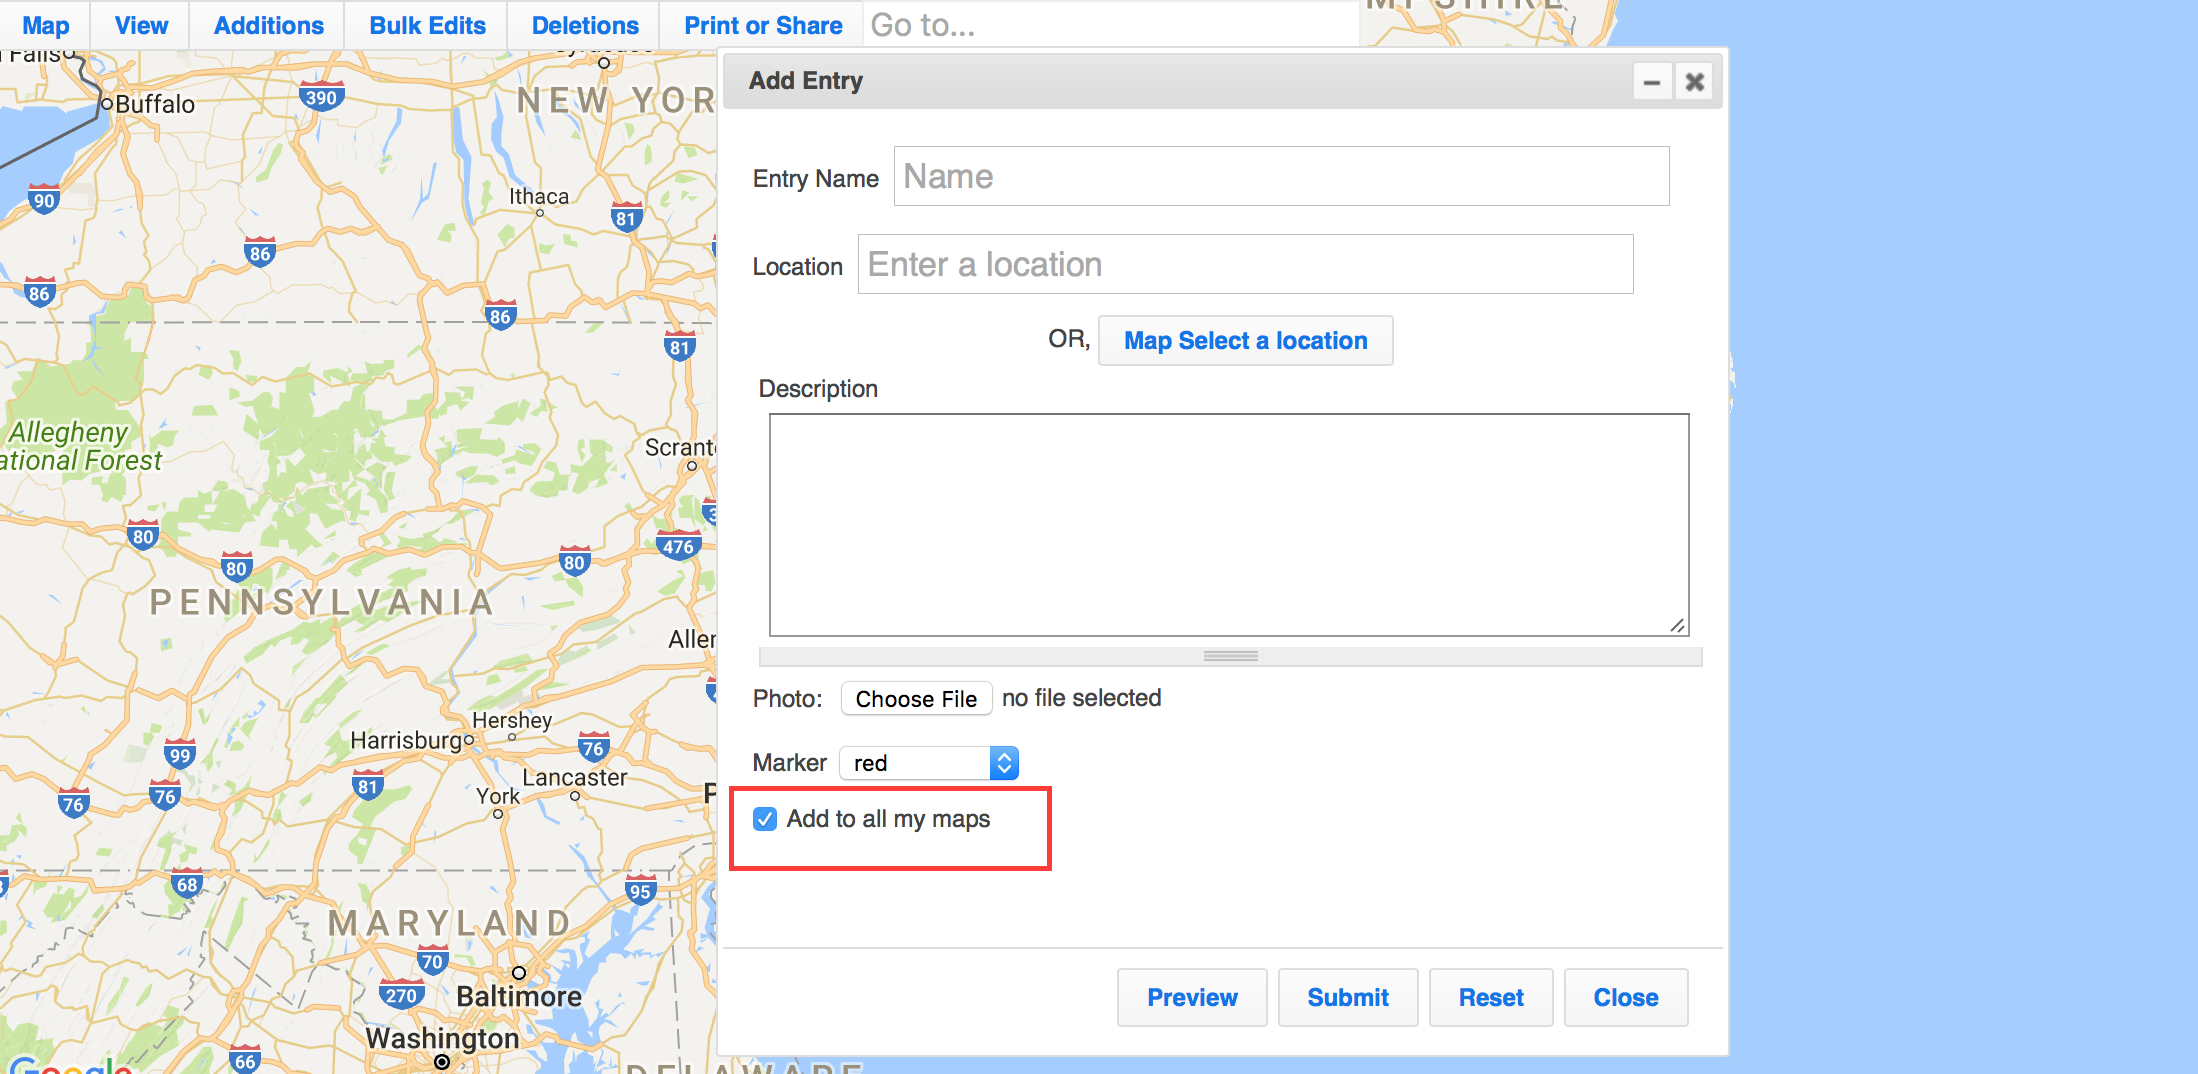
Open one of your maps, and select ‘Additions.’ Whether you choose ‘Add Marker – Simple’ or ‘Add Marker – Detailed’, the ‘Add Entry’ information box will appear. At the bottom there is a checkbox where you can choose ‘Add to all my maps.’

Add to all my maps to plan a garage sale

Planning garage sales more effectively 

The copy/move feature and the ability to add a marker to all your maps at once make it easier to organise community garage sales or yard sales. A customer had this to say on our testimonials page: “Thank you sooo much! I love this software! I am so glad I found you! I am telling all my friends who have to map garage sales for their communities. What a time saver!”
We’ve heard that the copy/move feature is also really useful for sales teams. Each salesperson is given a map with their own leads and customers, but when customers need to be assigned to a different team member, this feature allows that to happen easily.
Similarly, we have many people using ZeeMaps to plot locations for each staff member on a daily basis – to mark where roofs need repair or broken glass needs fixing, for example. If a staff member is running late or gets sick, their locations can quickly be transferred to another map.

My Maps Merge and Switch between Maps

ZeeMaps allows you to merge maps (two or more) and easily switch between maps you’re working on.

Merge my maps

To merge maps, you have to be a paid user. You won’t be able to take the following steps if you’re on the Basic plan, which is free. Please check pricing information here.
When you merge maps you create a new map that contains all the points, highlighted regions, legends, connections and annotations that each of the original maps contain.
To do this, click on the ‘My Maps’ link on the homepage. Alternatively, you can hover over your sign-in details at the top right of the page and select the ‘My Maps’ menu option from there. Select two or more maps by clicking anywhere in a map row except the map name. Once they are highlighted, go to ‘Map Operations’ and select ‘Merge’.
My maps merge
You’ll be asked for a title and a description of the new merged map, and whether you’d like to proceed.
Once the new map is created,  you can access it in ‘My Maps’ and print it or use it on websites, blogs or social media platforms. You can also save your new map as a PDF, PNG or CSV file.
The new merged map exists in addition to the originals, so you can still access your original maps. However, changes to the originals do not reflect in the merged map.

Switch between maps

You don’t have to be a paid user to switch between maps and it’s a feature that makes ZeeMaps even smoother to use. You can only switch between maps that you own. You can check what you’ve got by looking in ‘My Maps’.
If you are working in one map and would like to switch to another of your maps, go to ‘Map’ on the left of the menu bar and select ‘Switch Map’.
Switch between my maps
You’ll then be taken to a ‘Select a Map’ window where you can see all your maps and you can choose the one you want from the dropdown list.
This is a useful feature if you are working on store location maps or customer maps for example, and want to ensure they are consistent in appearance (marker color, annotation style, etc.)

OneDrive Spreadsheets: Map Location Data

ZeeMaps allows you to create interactive maps from location data stored in Microsoft’s OneDrive spreadsheets. ZeeMaps can periodically update the map as the spreadsheet changes.
You upload and attach your OneDrive spreadsheet to a map only once, then the map can be automatically kept updated as your spreadsheet changes. This way, you do not have to worry about making changes to both your spreadsheet and your map.
In order for this to work, make sure that you do not:

  1. Change the name or location of the spreadsheet
  2. Change the columns of your spreadsheet.

If you make any of the above two changes to your spreadsheet, then you must delete all data from your map and re-upload and attach your spreadsheet.

Attach a OneDrive Spreadsheet to a map

To attach a OneDrive spreadsheet to a map, first create a map on ZeeMaps. Use the Additions -> Upload (Copy-Paste) Spreadsheet menu item on your map, and then select the Cloud Drive Spreadsheet Option.

In the Cloud Drives drop-down, select the Microsoft OneDrive option for the Provider control, and hit the Fetch My Spreadsheets button.

Periodically Update Map from OneDrive Spreadsheet changes

At this point, a window should be activated that asks you to sign-in to your Microsoft OneDrive account and give ZeeMaps access. Once you’ve granted access, you should see a list of your spreadsheets and be able to select the spreadsheet that you want to upload to the map. From here on, follow the steps for uploading a spreadsheet to a map.
If you want your spreadsheet changes to be automatically reflected on your map, make sure that you check the option for “Regularly update from Cloud Spreadsheet” in Step 2 of the confirmation process for the upload:


From then on, the map should be automatically updated when your spreadsheet changes.
To see what spreadsheets are attached to your map, use the View -> Cloud Drive Sheets menu item on your map.

Group Highlighted Regions by Color

ZeeMaps allows you to highlight geographical areas, e.g., zip codes, counties, cities, states, or geometrical areas like circles, rectangles on your map. You can use such highlighted areas to mark out sales territories, or show service areas on a map. Often, your “region” will comprise of several smaller “geographical” areas. For example, a pizza delivery service might consist of an area composed of several zip codes. Or, a sales territory map might divide the country into several regions comprising of several states each.

Group Highlighted Regions

We’ve added a capability to “group” highlighted areas by color. Use the View > Group Regions menu to combine the borders of your highlighted areas. Once you do this, boundaries will be removed from all contiguous highlighted areas of the same color.
 

combine highlighted regions
Menu item to combine regions

While the highlighted areas are grouped, you cannot add or make changes to existing areas. To do that, un-group the areas, make the changes, and then group the areas again.
Grouping and un-grouping of regions requires an active Enterprise plan subscription.
For example, here’s a map that has several US Zip Codes highlighted grouped together. Following it is a the same map without the grouped highlighted regions.

Interactive Map with several highlighted zip codes grouped together by color

Interactive Map with highlighted zip codes and other areas

Las Vegas Zip Codes Spreadsheet Uploaded to a Map

ZeeMaps now allows you to highlight US Zip Code areas on a map by uploading a spreadsheet with address and color information. Previously we supported highlighting regions only few at a time. As an example, in this blog post, we’ll show you how to highlight all the Las Vegas zip codes on a map.

Las Vegas Zip Codes Spreadsheet

We collected all the the las vegas zip codes and put them in a spreadsheet. A small sample of the spreadsheet is shown below:
City, State, Zip Code, Color
Las Vegas, NV, 89101, red
Las Vegas, NV, 89111, blue
Las Vegas, NV, 89102, green
Las Vegas, NV, 89103, red
Las Vegas, NV, 89106, blue
Las Vegas, NV, 89107, green
Las Vegas, NV, 89109, red
Las Vegas, NV, 89128, blue
The complete spreadsheet of the Las Vegas zip codes can be downloaded from: Las Vegas Zip Codes.
We’ve added the “color” column to our table to indicate which color we’d like to use to highlight a specific zip code. You can modify the color later once the map has been created. ZeeMaps supports 31 different colors that can be used for spreadsheet uploads. For a complete list of supported colors, see the menu item Map -> Legend on your map.

Upload Las Vegas Zip Codes Spreadsheet to a Map

Create a map and then use the menu item Additions -> Add (Upload) Multiple Markers. This will result in a dialog that asks for the spreadsheet file:

Upload Spreadsheet to Map for Las Vegas Zip Codes

In this dialog, as shown in the figure above, you can select the option to upload the data as pins or as highlighted areas for the zip codes. Since we want to create a map with zip codes highlighted, we’ll chose the option of “US Zip Code Regions”.
The spreadsheet can be in Excel file format or a CSV file. You can also copy-and-paste data from a table, or attach a spreadsheet maintained on a Google Drive. The advantage of using a spreadsheet on a Google Drive is that you can have the map be automatically updated based on changes to the spreadsheet.
Once you submit the data, a dialog will ask for confirmation of the column mappings to the field values. Make sure your columns are assigned to the appropriate fields, otherwise the data may not be mapped correctly.
Confirm column mappings for Las Vegas zip codes upload

Las Vegas Zip Codes Map

After you confirm the column mappings, the highlighting of zip code areas will start. It may take a few minutes for large files. You’ll get an email report when the upload is finished. Refresh your map and it should show you the highlighted areas. Our interactive map of Las Vegas zip codes is embedded below.

Click on a highlighted zip code to see more information determined from the additional columns of your spreadsheet. In the information bubble, you can click on the title or name to get an edit dialog to make changes to that specific entry, including the ability to change the color.
When highlighting regions through spreadsheet uploads, the normal region limits apply: 5 for Basic (free) plan, 10 for Professional, 25 for Professional Publisher. In addition, the Enterprise plan is restricted to 5,000 highlighted regions through spreadsheet uploads. If you need more, please contact us for special provisioning.