Map Pins with Labels

You can label your map pins, using up to three characters from a field value on your map. For example, you can label your map pins with store numbers, for a store locator map.

First, create a map with your location list. Make sure you have one of the data fields that contains the labels that you want to put on your pins. The field value may be as long as you want, but only the first three characters or less will be used for the labels.

Set the Labels
To set the labels, go to the Map Settings page (menu item Map -> Settings) and then click on the Markers Display tab. In the drop-down for the “Label markers using field” select the appropriate field and hit “Save Changes”.

Set field for pin labels


Your pins should now be labelled using the field value. Note that the labels will only show with larger pins and not if you have your markers set as small pins.

Change all markers in California to Yellow in a US Map

Bulk edits of map information has a “Copy Changes” feature. Select multiple rows, make a change to one row, and then click on “Copy Changes” to make the same change to all the selected rows.
For example, suppose we have a US map of locations in different states and we want to color all the markers in California to Yellow.
On your map, click on the Bulk Edits -> Markers menu item (this requires a paid subscription).

Bulk Edit menu item
Bulk Edit of Markers

This opens up a new tab in the browser with an edit grid for all the locations on the map. Sort this grid using the “State” column, and select all rows from California. Change the “Marker” cell of one row to “Yellow” and hit “Copy Changes”. The change is propagated to all the selected rows. Pressing “Save Changes” will commit these changes.
Change multiple rows at once with CopyChanges

Auto-Update Map from Google Drive Spreadsheets

When mapping locations from a spreadsheet on a Google Drive, you can set up auto-update such that changes to your spreadsheet are periodically reflected in your map.
The spreadsheets can be stored as Microsoft Excel, CSV, or Google Spreadsheet files.
To enable this, create a map using one of the “Create a Free Map” button.
Then, go to the Additions menu and select Additions -> Upload (Copy-Paste) Spreadsheet, and then select the Cloud Drive Spreadsheet Option.

In the Cloud Drives drop-down, select the Microsoft OneDrive option for the Provider control, and hit the Fetch My Spreadsheets button.

ZeeMaps will ask you permission to access your Google Drive files in ReadOnly mode. We only ask for Read permissions, so we will never modify your Google Drive files or data in any way.

Select the spreadsheet that you want to upload, by clicking on the checkbox near the spreadsheet’s name.
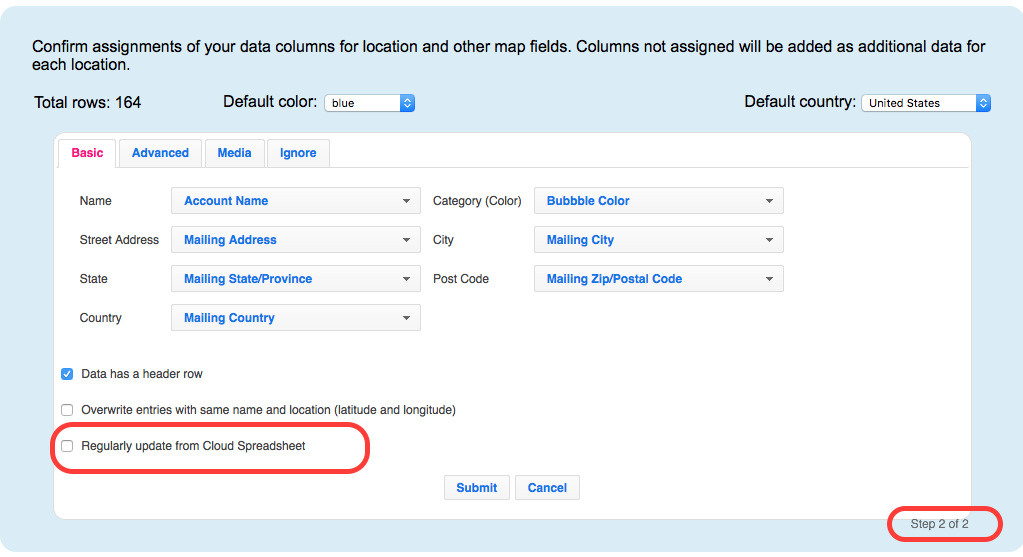
Next, confirm your upload settings. Make sure at this point you assign columns appropriately, e.g, name -> Name, street address -> Street, city -> City, etc. You can double-click on the assignments to get a list of standard fields to choose from.
Check the box that says: “Regularly update from Cloud Spreadsheet”.


Hit Submit, and wait for a little while. Then, refresh your map to see if the data is being uploaded.

World Map

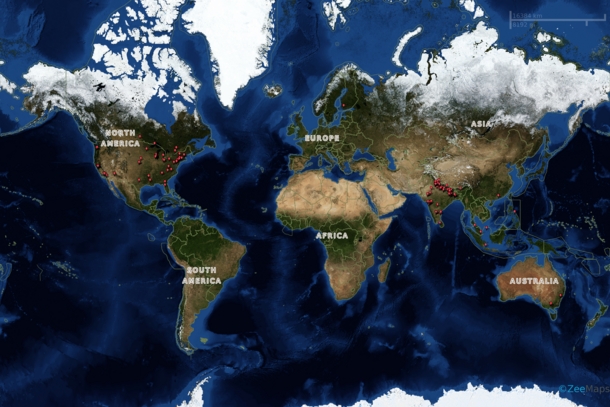
You can easily get a customized world map image with  ZeeMaps.

Click on Map to get larger poster sized image

First, create a map using the “Create a Free Map” button on the ZeeMaps site.
Use the Additions -> Add Marker menu items on your map to add your own locations to your new map. You can also add multiple locations in batch by using the spreadsheet uploads options.
If you want to highlight certain countries, states, etc., use the Additions -> Highlight Regions menu item.
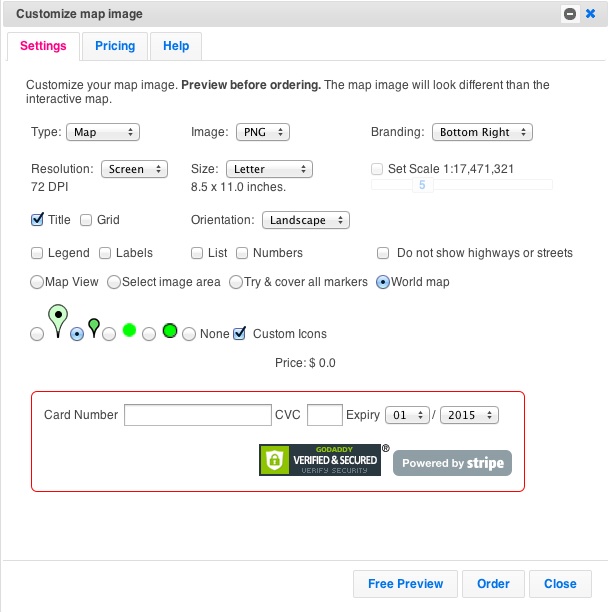
Once you have your customizations done, you can get a world map by using the Print or Share -> World Map Image menu item, which will bring up a customization dialog:

Customize Image
Customize your World Map image

Use this customization dialog to customize your image, e.g., set the size, resolution, kind of markers (pins) to show your location, etc. Experiment with different customizations by hitting the Preview button. Once you’re satisfied with the Preview, enter your payment information and hit Order.
The image of a world map will be generated and stored on our servers. You’ll get a link to download the image. Remember the link URL in case you want to retrieve the image later.
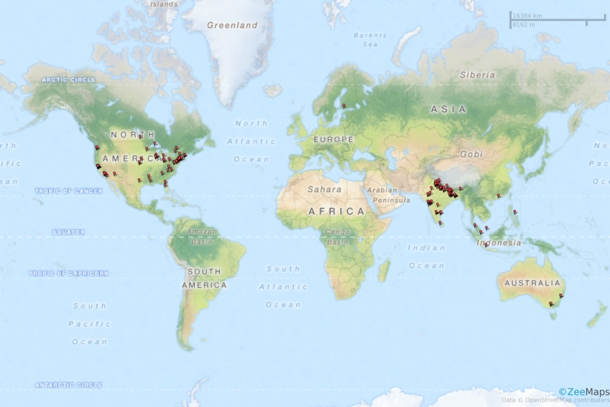
Here another world map of the image at the top of this post, as a regular map instead of a satellite image.
Click on image to get the poster-sized map

Add Markers with SmartPhones

When you visit a map through your SmartPhone, you should see an “Add” button on the header bar for your map:

Add marker in SmartPhone
Add button on maps in SmartPhones

Press the Add button and you’ll get a form to enter your marker information, i.e., name, location, description and color.
To use the current location, press the button titled “Use Current Location”.
If you do not have the location address, and do not wish to use the current location, ZeeMaps allows you to search for locations. Just fill the name field and hit submit. For example, to search for McDonalds I entered “McDonalds” in the name field, entered my description, picked a marker color, and hit Submit.
Search for local McDonalds
Search for McDonalds to Add location

ZeeMaps lists a few McDonalds, but none of them are close to our location (Sunnyvale, CA):
First Search attempt for McDonalds

So, change the search from “McDonalds” to “McDonalds, Sunnyvale, CA”. Now it lists McDonalds in Sunnyvale, CA, and you can select one to add to the map.
Improved Search with name and city

 
Later, if you want to delete that marker, click on it to get its details, including a “Delete” button.
Delete button for deleting marker in SmartPhone