Map Annotations in ZeeMaps
Managing annotations in ZeeMaps just received a major upgrade. We’ve introduced a modern annotation editor that makes it easier than ever […]
Managing annotations in ZeeMaps just received a major upgrade. We’ve introduced a modern annotation editor that makes it easier than ever […]
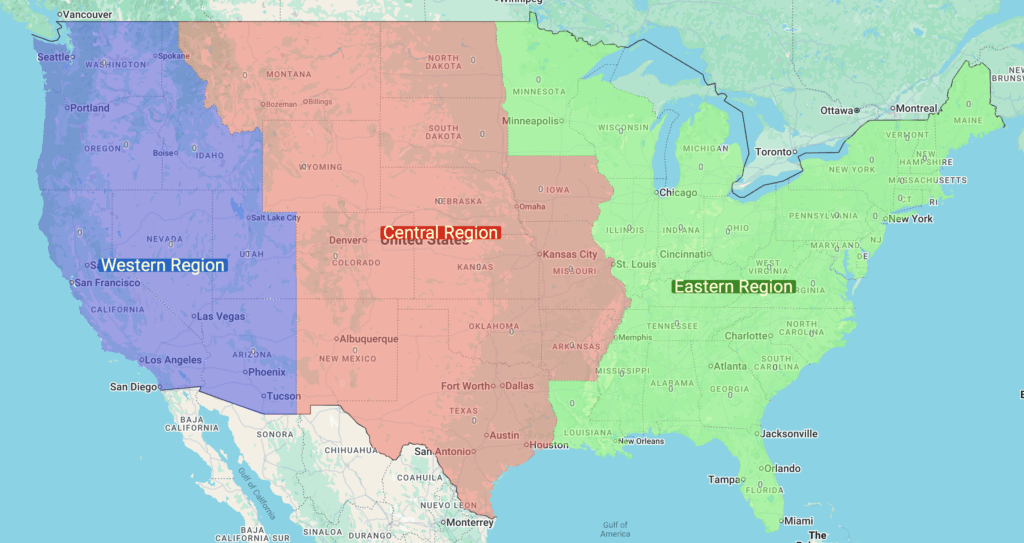
ZeeMaps supports highlighting regions on maps, making it easy to visualize sales territories, service areas, or marketing reach. Highlighted areas are
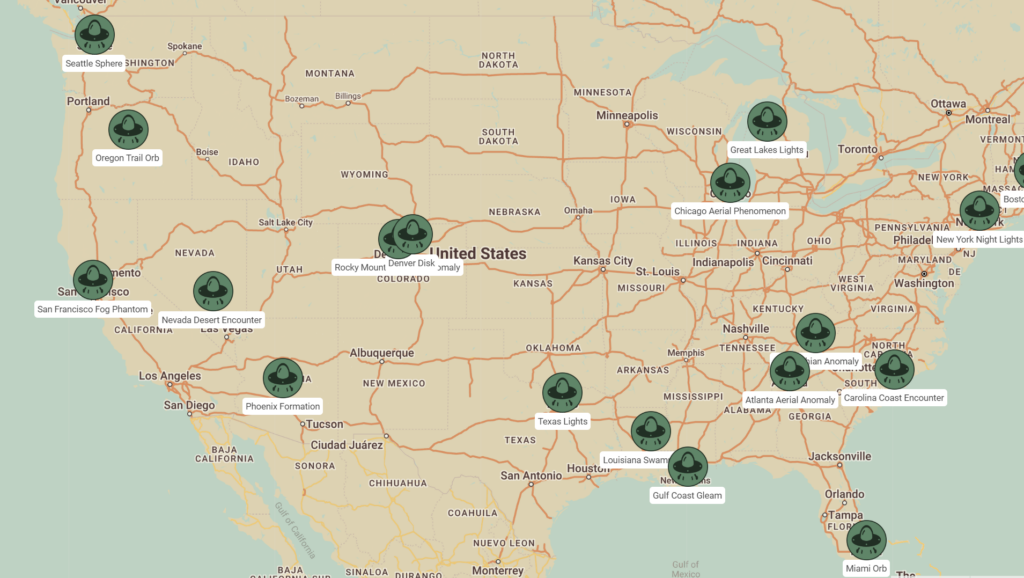
UFO sightings span across America, and with ZeeMaps’ latest feature, you now have the power to depict these enigmatic occurrences with unprecedented clarity.
The days of being constrained to three-character map pin labels are behind us. Let’s embark on a journey to craft a detailed UFO sightings map featuring extended pin labels.
You can label your map pins, using up to three characters from a field value on your map. For example,