ZeeMaps allows you to add one image for each pin on your map. You can add an image to your map pins either: (1) individually, or (2) in bulk using spreadsheet uploads.
Add Images to Map Markers Individually
While adding a map marker individually, you can also add an image that will show in the information bubble for that marker. To add a marker individually, use the Map > Additions > Add Marker (Simple or Detailed) menu item on your map.
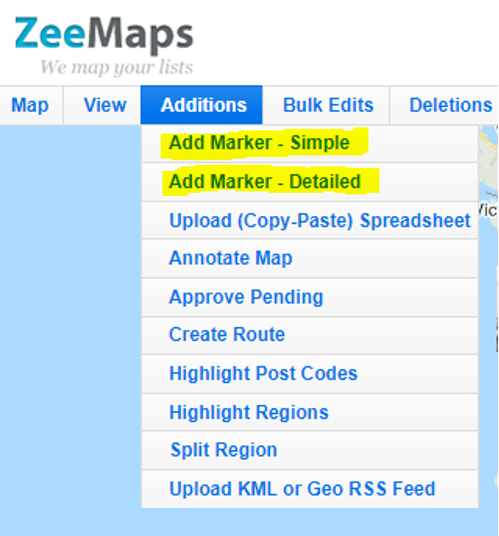
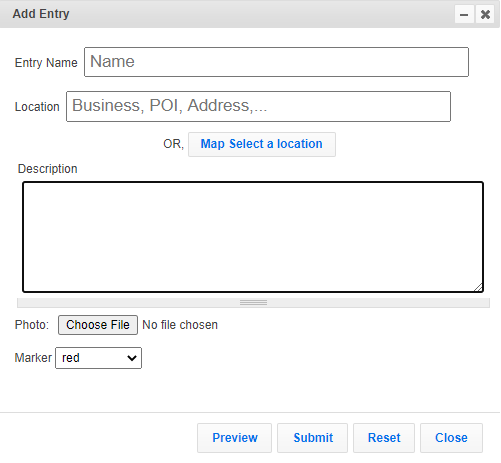
When you select ‘Add Marker – Simple’, you get a simple dialog that allows you to specify the name of the marker, its location, a brief description, a color and an image.
If you select ‘Add Marker – Detailed’, you will get a more detailed dialog. Therefore, you can specify everything as above in the simple dialog, but you also get more fields. For example, you can add media such as a YouTube video or audio files.
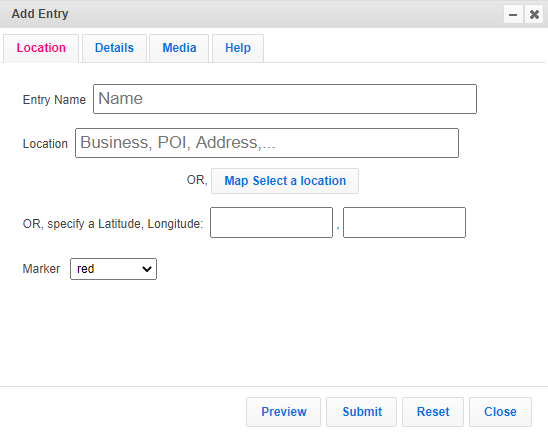
From the Location tab, you can add an Entry Name and Location. The Details tab is where you enter email, phone, website, etc. Then, the Media tab allows you to add the image for the map pin.
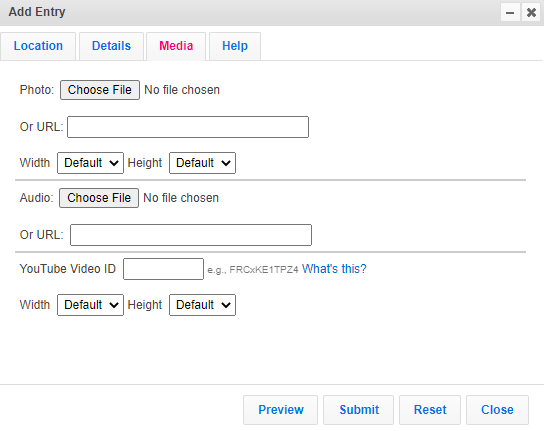
To add an image, go to Photo. You can upload one of two ways – either by clicking ‘Choose File’ or by entering a URL. If you choose the second option, make sure that the URL points to just the image file, e.g., in JPEG or PNG format, and not the web page containing the image.
In the Detailed Add dialog, you can also select a width and height for your image as it will appear in the information bubble.
Add Images using a Spreadsheet to Map Pins
ZeeMaps allows you to upload map points using a spreadsheet, such as Excel (.xlsx) or Comma Separated Value (.csv). Typically the data will have column headers indicating a Name, Description and Location. To add an image for your uploaded map pins, add a column called ‘Image’, or ‘Photo URL’ to your spreadsheet. Then, in each row, insert a picture in the cell, or add a link to the image. Make sure that the link points directly to an image and not to a webpage containing the image.
When you insert images directly in cells, the resulting file should be an Excel spreadsheet with the extension .xlsx.
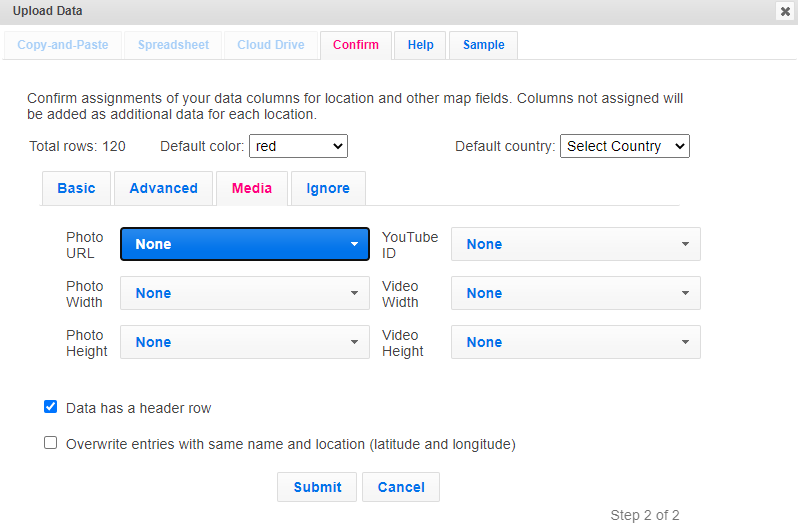
Next, go to your map and select ‘Additions’ then ‘Spreadsheet.’ Locate the file you wish to upload and select the fields for basic information. Then select the ‘Media’ tab, shown above. Choose the correct column from the drop-down list next to ‘Photo’ and click submit. Then, the photo listed will be used as the image for the map pin when selected.
Use our example data to help you with this process.
Pixabay is a good resource site, where you can snag some picture icons, as well as map ideas and images!